When you’re starting out on a muscle‑building journey, the first hurdle is often the gym membership fee. That $99 a month can feel like a barrier, but it doesn’t have to be. You can build a functional, beginner‑friendly gym right in your living room, garage, or even a spare bedroom, all while keeping the bill under $100. This guide will walk you through every step—from picking the right space to selecting equipment that delivers real results without breaking the bank.
Think about it: if you’re already paying for a subscription to a streaming service, you can put the same amount into a few solid pieces of gear and a lot of sweat. The best part? The setup stays flexible, and you’ll own it forever. You’re not just buying equipment—you’re investing in a routine that can grow with you. Ready to make that happen?

1. Pick Your Spot and Plan the Layout
Before you even think about buying weights, find a place that can accommodate a few simple tools and still feel open. A living room, basement, or spare bedroom works well. The key is to keep the area free of clutter and have a flat surface for floor exercises or a sturdy chair for step‑ups.
Flooring matters. A rubber mat or an old yoga mat can protect your floor and reduce noise. If you’re on a tight budget, repurpose a thick carpet or a cheap foam sheet from a home improvement store. Even a few cardboard boxes stacked and covered with a towel can serve as a makeshift bench for dips or push‑ups.
When you’ve chosen the space, map out where each item will sit. Keep the most frequently used equipment—like a set of resistance bands or a pair of dumbbells—within arm’s reach. This small step saves time and keeps the workout flow smooth, especially when you’re in a rush.
2. Core Equipment That Packs the Biggest Punch
With a budget of $100, you’ll need to prioritize gear that offers versatility. Here’s a breakdown of what to buy and how to get the most out of each piece.
- Resistance Bands (≈ $20)
A set of three bands (light, medium, heavy) is a powerhouse for building muscle. They’re inexpensive, travel‑friendly, and can replace many free weights. Use them for squats, rows, chest presses, and even pull‑ups with a sturdy door frame. Look for a brand that offers a lifetime warranty; this guarantees durability and value. - Weighted Backpack (≈ $30)
Fill an old backpack with books or canned goods to create a custom weighted vest. You can add or remove weight as you progress. The backpack can also serve as a sled for sled pushes or pulls, turning a simple piece of gear into a full‑body workout tool. - DIY Sandbag (≈ $15)
Grab a sturdy duffel bag, fill it with sand or rice, and secure it with a heavy-duty strap. Sandbags are great for deadlifts, cleans, and farmer’s walks. They mimic the feel of a barbell without the cost. - Pull‑Up Bar (≈ $25)
A doorway pull‑up bar can be installed in minutes and offers a full upper‑body stimulus. Even if you’re a beginner, you can use resistance bands to assist pull‑ups or focus on bodyweight rows.
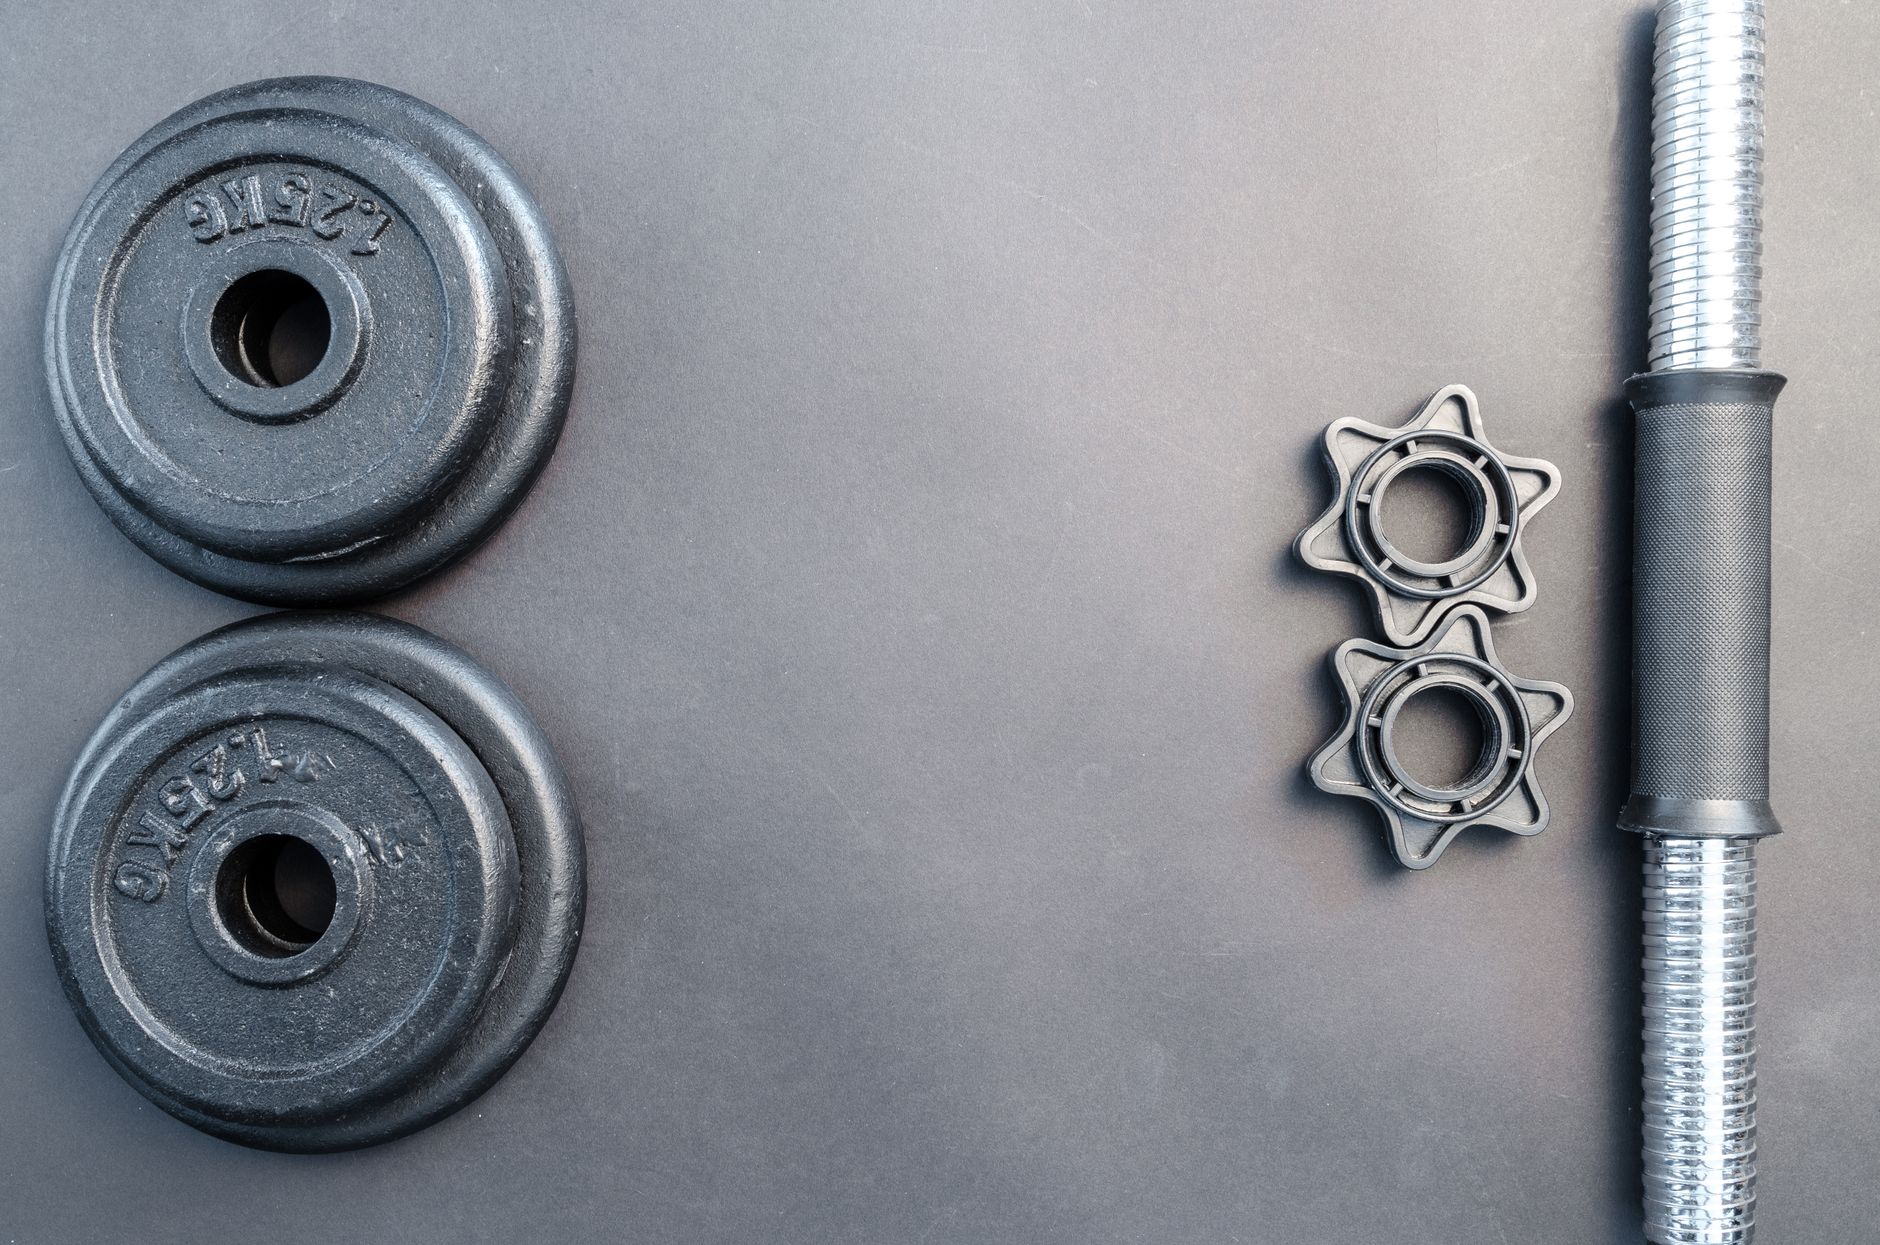
With these four items, you’ll have a solid foundation for compound movements that target multiple muscle groups. If you find you have a few dollars left, consider a set of adjustable dumbbells, but many beginners can get by with the items above.
3. Maximizing Volume with Bodyweight and Creative Accessories
When you’re limited by equipment, volume becomes your best friend. Push the same movement harder or add more sets to keep the stimulus strong. Here’s a sample routine you can do 3–4 times a week, using only the gear listed above.
- Warm‑up (5 minutes)
Jumping jacks, arm circles, and bodyweight squats to get blood flowing. - Compound Circuit (Repeat 3–4 times)
- Weighted Backpack Squats – 12 reps
- Resistance Band Chest Press – 10 reps per side
- Pull‑Up Bar Assisted Pull‑ups – 8 reps
- Sandbag Farmer’s Walk – 30 seconds
- Bodyweight Dips (using a sturdy chair) – 12 reps
- Resistance Band Bicep Curls – 15 reps
- Plank – hold for 45 seconds
- Cool‑down (5 minutes)
Stretching for all major muscle groups, focusing on the back, chest, and legs.
Notice how each movement uses a different tool, yet they all target the same muscle groups you’d hit in a traditional gym. The key is consistency and progressive overload: add a few more reps, a heavier backpack, or a tighter band as you get stronger.
Don’t forget the power of household items. A backpack full of books can double as a weighted vest or a sandbag. A sturdy chair can become a dip station. A towel can be used for pull‑ups on a door frame or for resistance exercises. The world is full of creative options when you’re willing to think outside the box.

4. Practical Tips and Common Mistakes
Don’t skip the foundation. Good form beats heavy weights every time. If you’re unsure about an exercise, start with bodyweight and gradually add resistance.
Watch for equipment wear. Resistance bands can snap if stretched beyond their limits. Check them regularly for fraying, especially after a workout. Replace them before they fail.
Stay organized. A cluttered space leads to wasted time and can feel discouraging. Store your bands, backpack, and sandbag in a dedicated area so you can quickly set up for your next session.
Mix up the routine. Even a simple change in tempo or grip can keep the muscles guessing. Try slow negatives on a pull‑up or pause squats for a second at the bottom.
Track progress. Use a notebook or a simple spreadsheet to log reps, sets, and weights. Seeing numbers improve over time is a huge motivator and helps you adjust your plan.
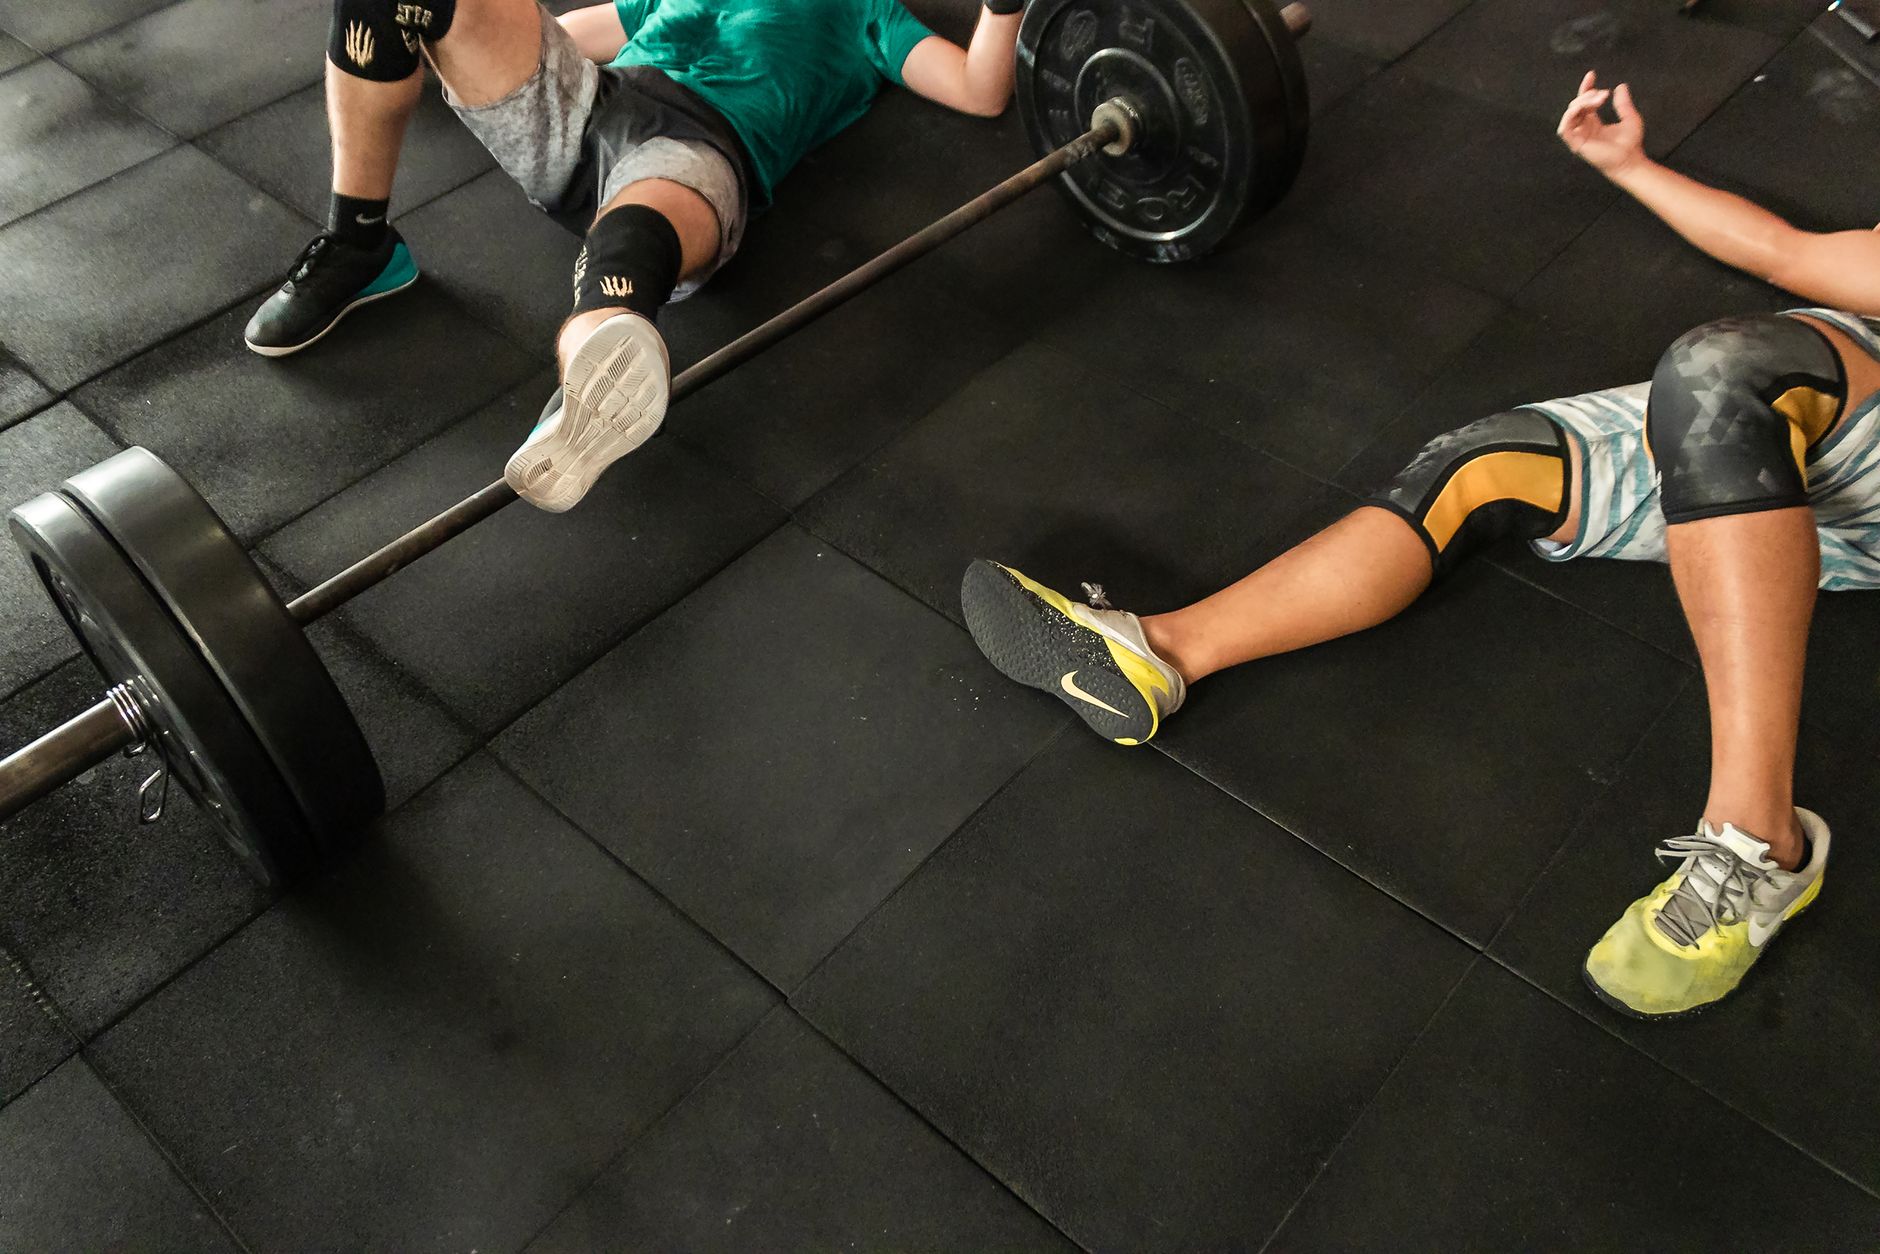
Building a home gym on a budget isn’t about having the most expensive gear; it’s about smart choices, creative use of what you have, and a commitment to consistency. You can see real gains with a few bands, a weighted backpack, a sandbag, and a pull‑up bar—all under $100. The next step is simple: set up your space, grab your gear, and start lifting. Your future self will thank you for the foundation you build today.
Leave a Reply